|
Google Apps

Top 15 Google Photos Tips for Productivity!

Not sure how to get the most out of Google Photos? Don’t worry, learn useful tips on storage, albums, and editing, and you’ll be up and running in no time!

Watch it in action

Create GIFs

If you’re EXTRA like me, you can insert animated GIFs into slides, docs, gmail, etc.

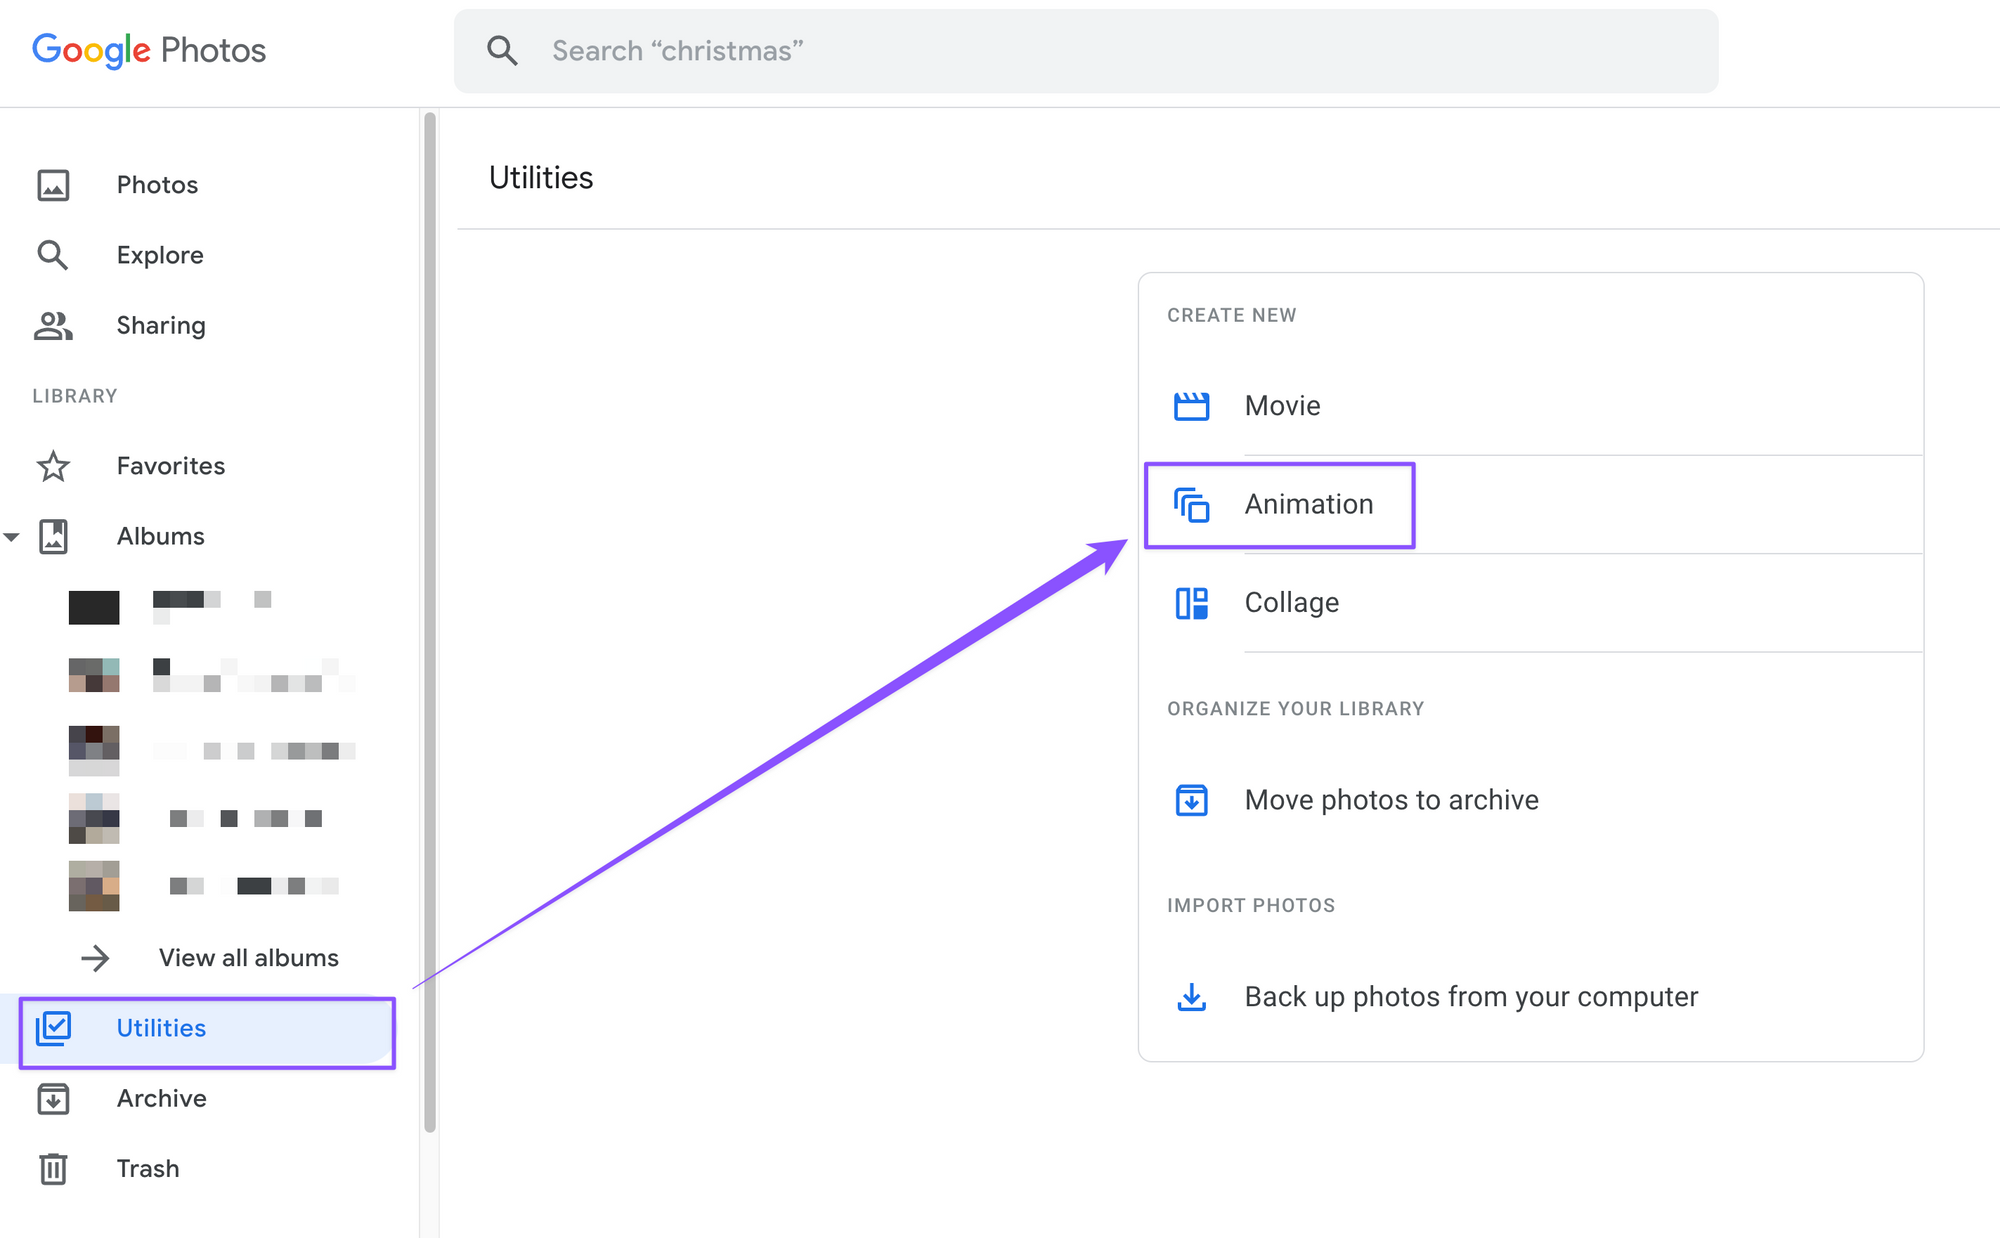
To do this, within the web version of Google Photos:

  1. Go to Utilities on the left sidebar
  2. Click “Animation”
  3. Hold SHIFT and select the photos you want to animate
  4. Click “Create” in the top right corner

View Storage Usage

(These 6 tips are about storage)

Go to photos.google.com/storage to see how much storage you have left. Google also estimates how much time you have until you run out!

Remove Large Files

You can manage your files under “Review and delete”.

💡
Pro Tip: Delete “Large photos & videos” to free up the most space

You can do the same over in Google Drive and Gmail!

Search for Large Files

Within Gmail:

  • Type in “larger:10m” in the search bar to return all the emails larger than 10MB

Save Storage

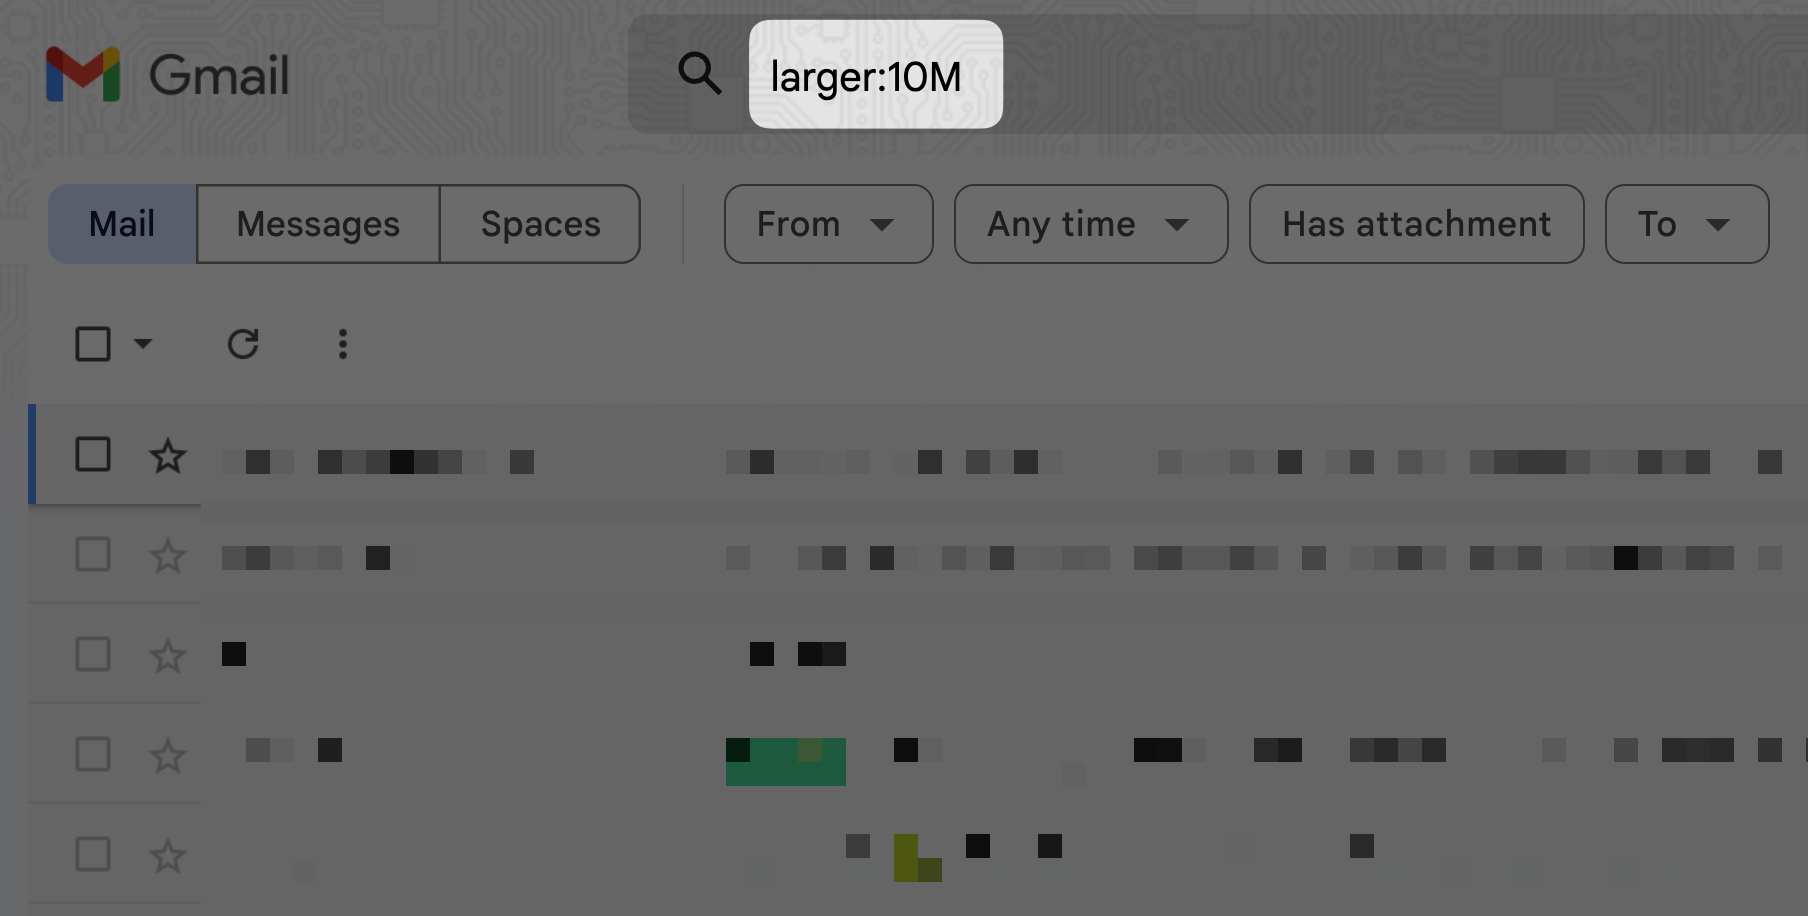
For all users surviving off the free 15GB plan, this will be a huge life saver:

  1. Go to the Google Photos Settings in the top right corner
  2. Select “Storage saver”
  3. Scroll down and turn off “Promotional emails”

Storage Settings for Android

If you’re an Android phone user…

  1. Go to Settings in your Google Photos app
  2. Click “Back up & sync”
  3. Select “Back up device folders”
  4. Turn off “Movies” and “Screenshots” to free up even more space
💡
Pro Tip: Make sure you only check folders that you want backed up!

Manually Back Up Photos

If you’re a control freak and want 100% control over your storage?

  • Turn off “Back up & sync” completely

You can manually select which images to upload by clicking the cloud icon above your image.

Share Photos with Corporate Account

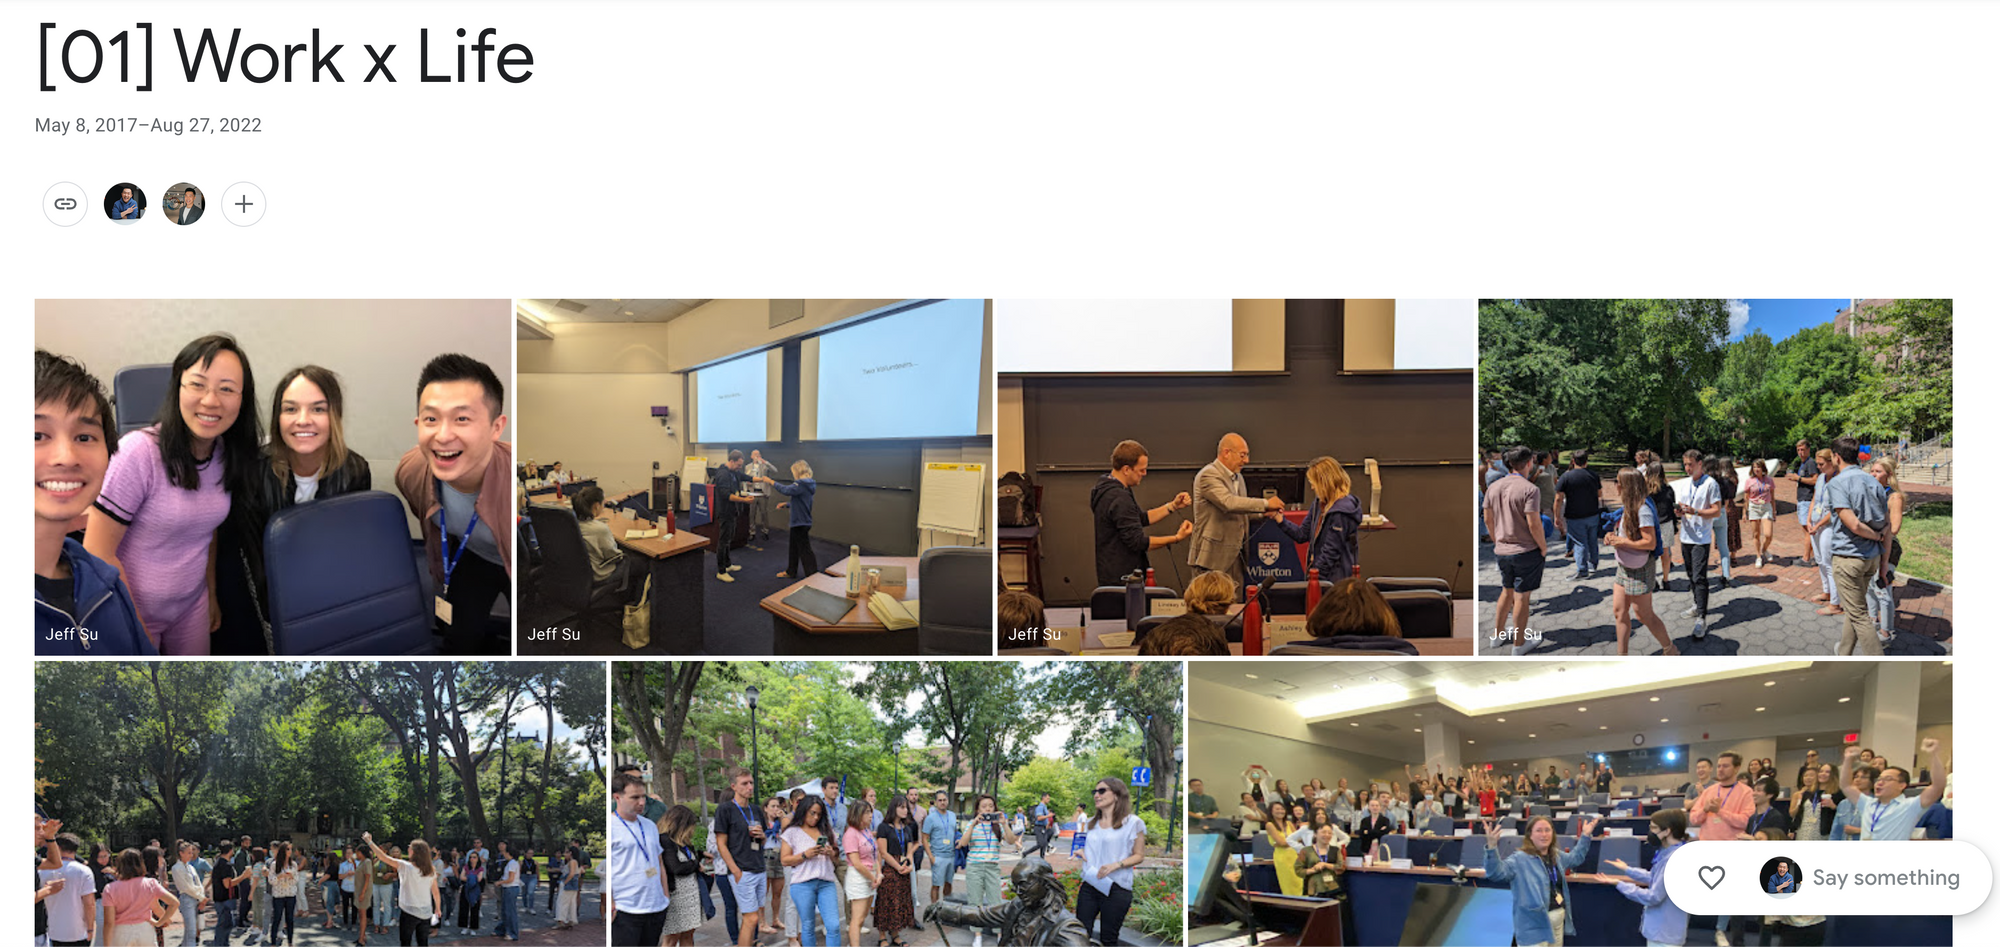
(This tip is about albums)

I created a “Work x Life” folder so I can easily share photos in this album with my corporate account. This is helpful when you want to share photos from your personal advice without having to transfer photos back and forth!

💡
Pro Tip: I recommend creating a “Reference” and “Edited Photos” album for easy access

Edit Professional Headshots

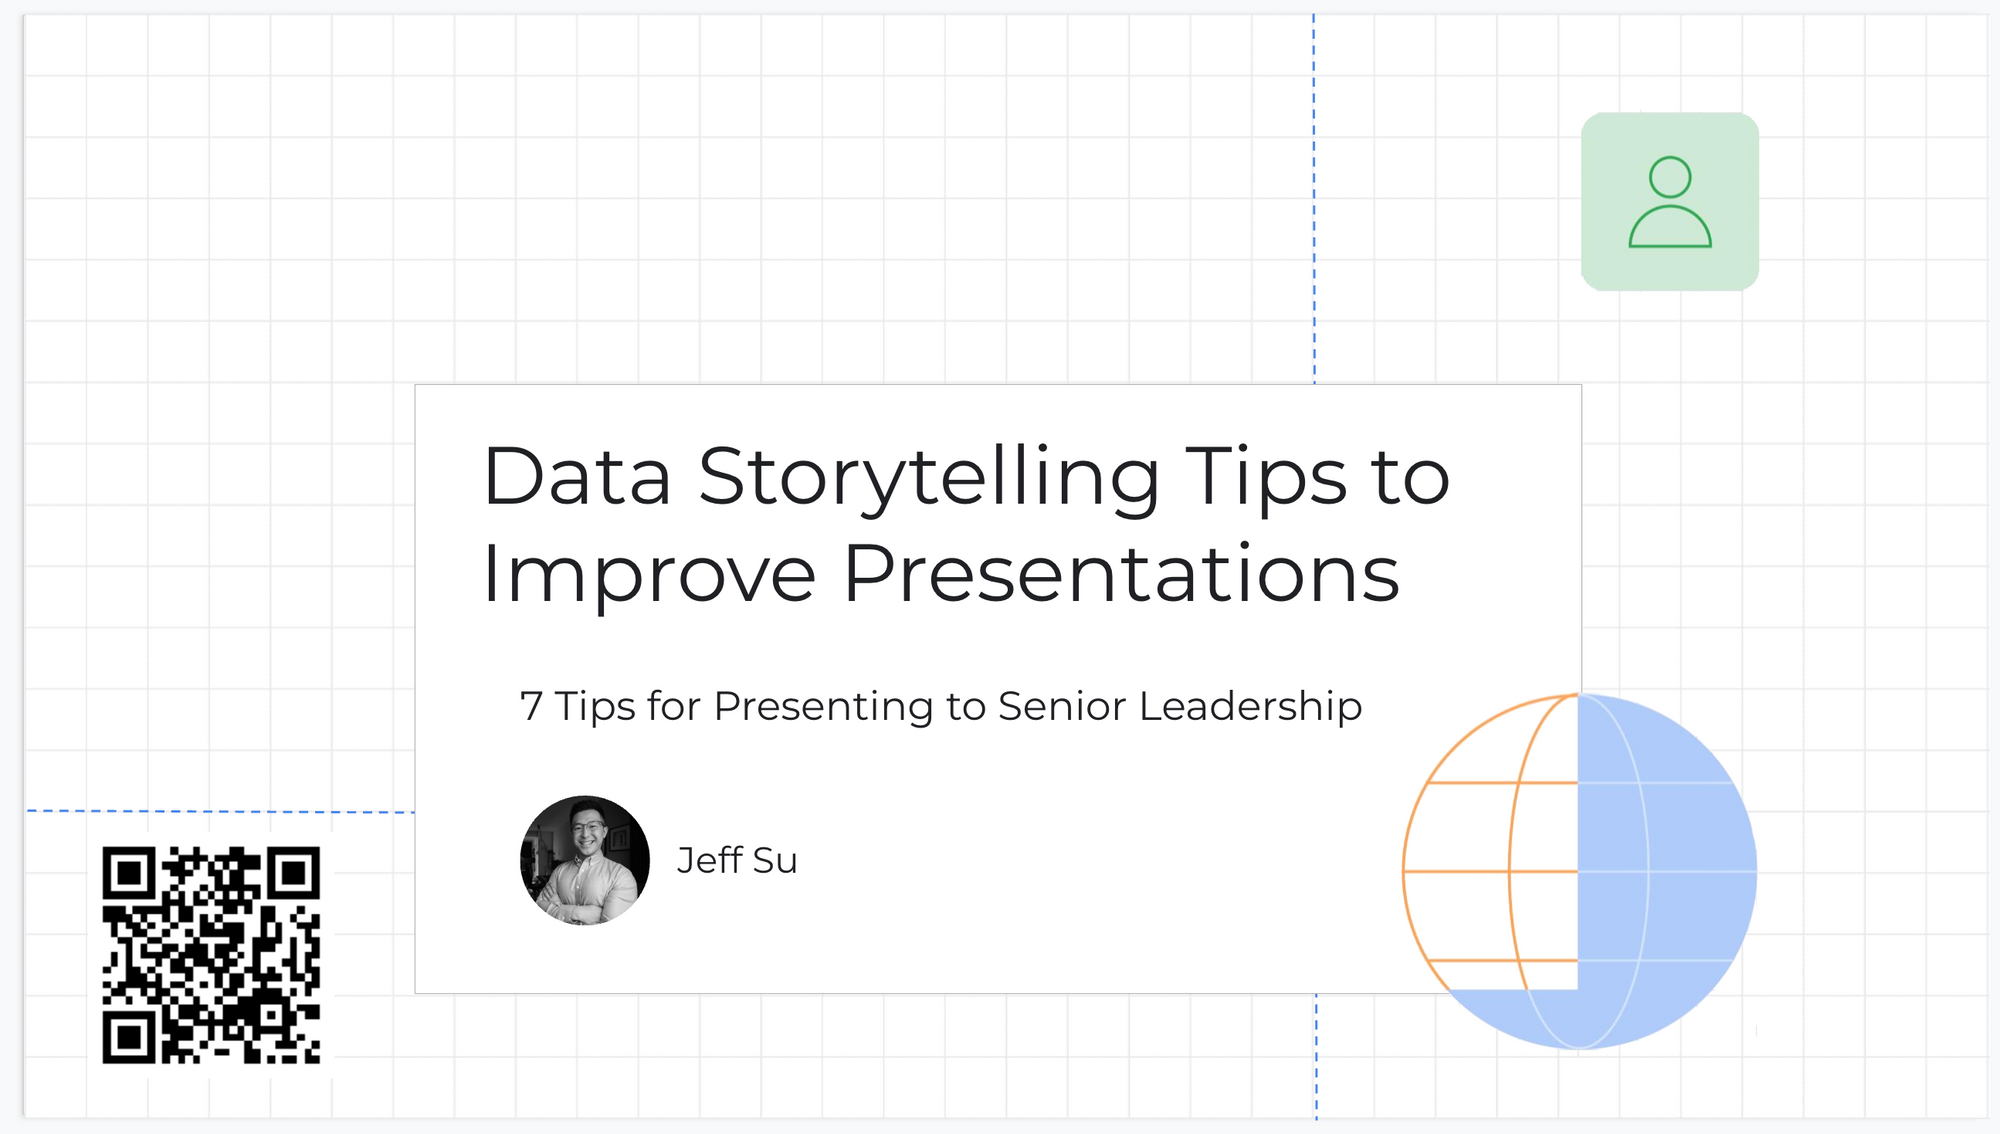
(These 2 tips are about editing)

Want to turn your Google Photos into professional looking headshots for a corporate presentation like this? 🥸

  1. Pick a photo > click on the Edit icon on the top right
  2. Click on the Crop icon > select “Auto” (this automatically straightens the photo)
  3. Click on the Aspect Ratio icon > select “Square”
  4. Click “Done”

After you’ve done that…

  1. Click on the Basic Correction icon
  2. Drag the color slider all the way to the left > click “Done”
  3. This will turn your image black and white
  4. Right click the image > paste it into your Google Slides Presentation
  5. In Google Slides, click the downward arrow next to the Crop icon
  6. Hover over “Shapes” and select the circle
💡
Pro Tip: This circle crop feature will only work if your image is a 1:1 aspect ratio

Editing for Android Users

If you’re an Android user, you got the competitive edge on this one. I personally find the “Color Pop” and the “Portrait light” filters super cool 😎

In the Google Photos search bar, you can look for images by location.

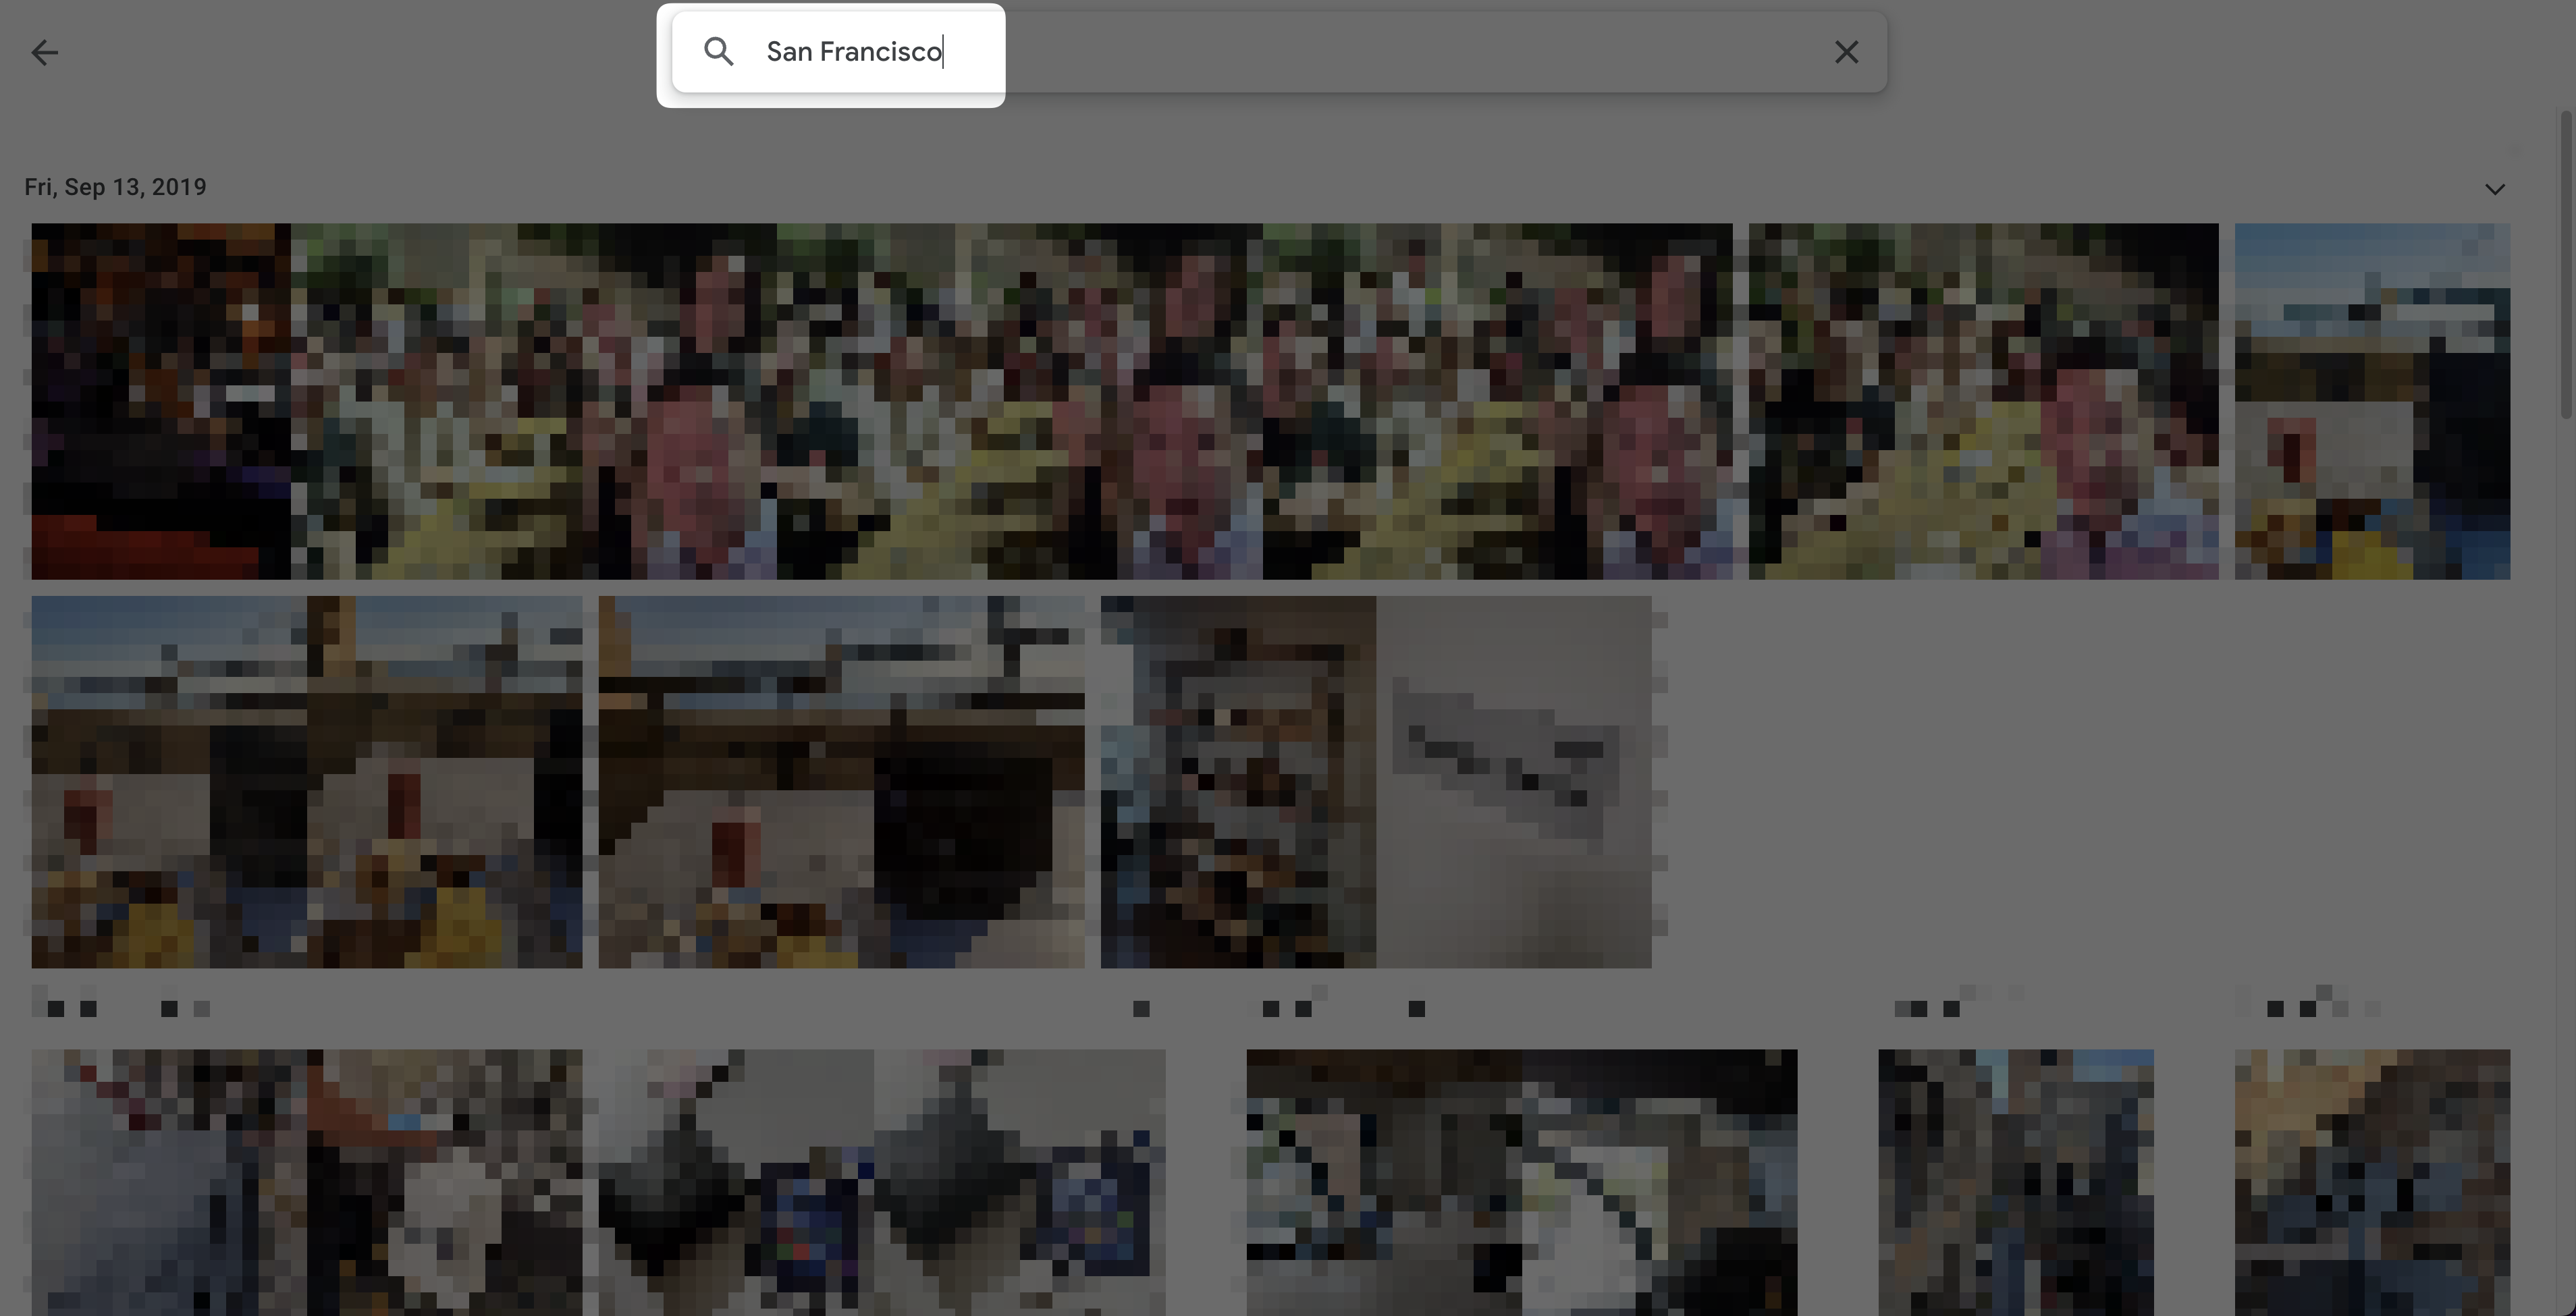
This is very handy if you want to select multiple photos from a trip and add them into a single album.

Search on Mobile App

There are a couple neat tricks you can do when searching on your mobile app:

  • Long press and drag to choose images to delete or share in bulk
  • Pinch in with 2 fingers to zoom into a certain week or day
  • Click the downward arrow next to a date to show other images you took that day

Photo Memories on Mobile App

If you go to the photos tab on the mobile app, you can see memories from 1 year ago, 2 years ago, etc. 💭

  • Click into one of the memories > click the 3 dots on the bottom right corner
  • Select “View all photos from this day”

Now you can go on a trip down memory lane and be all up in your feels.

Favorited Photos on iPhone

  • Go to your Google Photos settings > select “Apple photos”
  • Turn on “Sync Favorites”

Next time, when you take a photo and favorite it on your iPhone, it will automatically show up in the favorites folder within Google Photos!

Map of Places You’ve Visited

For those of you who love to travel:

  • Go to the search tab within the mobile app
  • Click on “Your map”

This shows a heat-map of all the places you’ve visited and the photos you took there! 🌎

Did you know…

You can be productive while watching YouTube? Check out this post to find out how!