Master 80% of Notion with this ONE Feature
| Notion
In this blog post, we're going over the Inbox Zero workflow in Microsoft Outlook. The goal of this system is to get your inbox down to zero messages, so you can focus on other important tasks.
We'll cover everything you need to know, from setup to the workflow and some drawbacks you should know about!
To get started with the Inbox Zero workflow in Microsoft Outlook, the first step is to adjust your settings. Go to settings and turn off focused inbox.
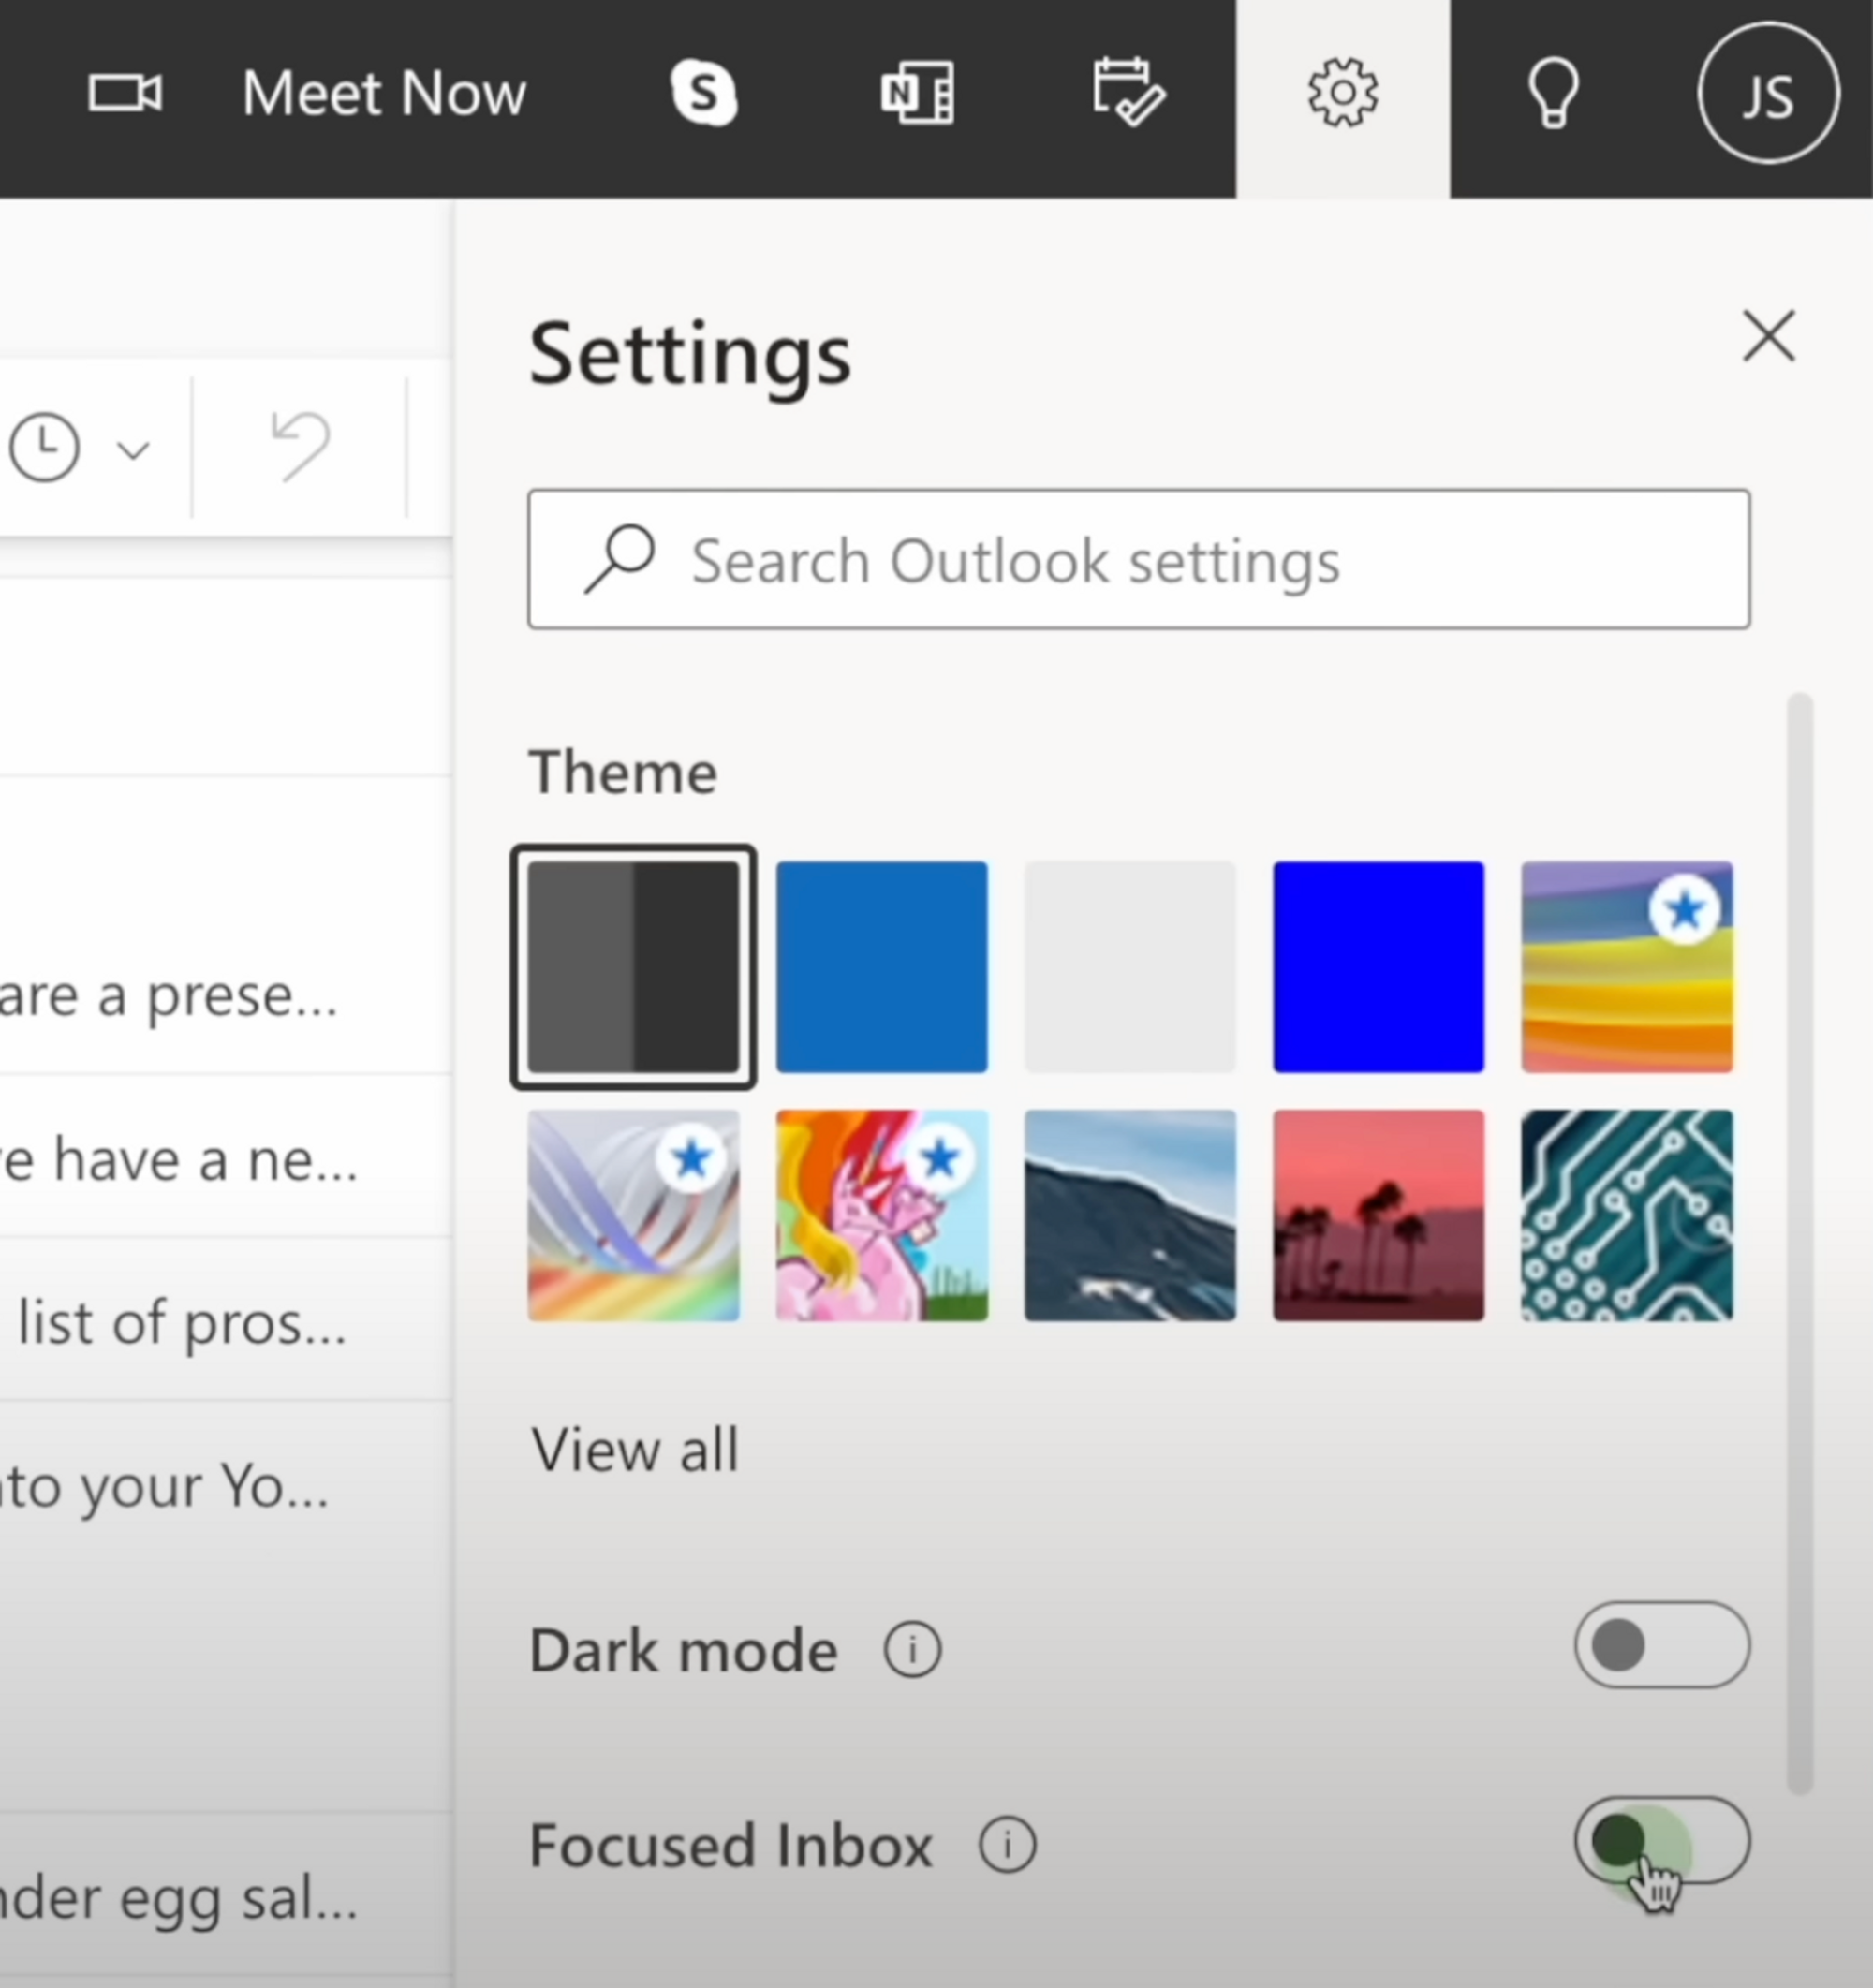
Then, select "Cozy" as the display density, group messages into conversations and arrange the reading pane newest on top. Although it's personal preference, it's recommended to show the reading pane on the right.
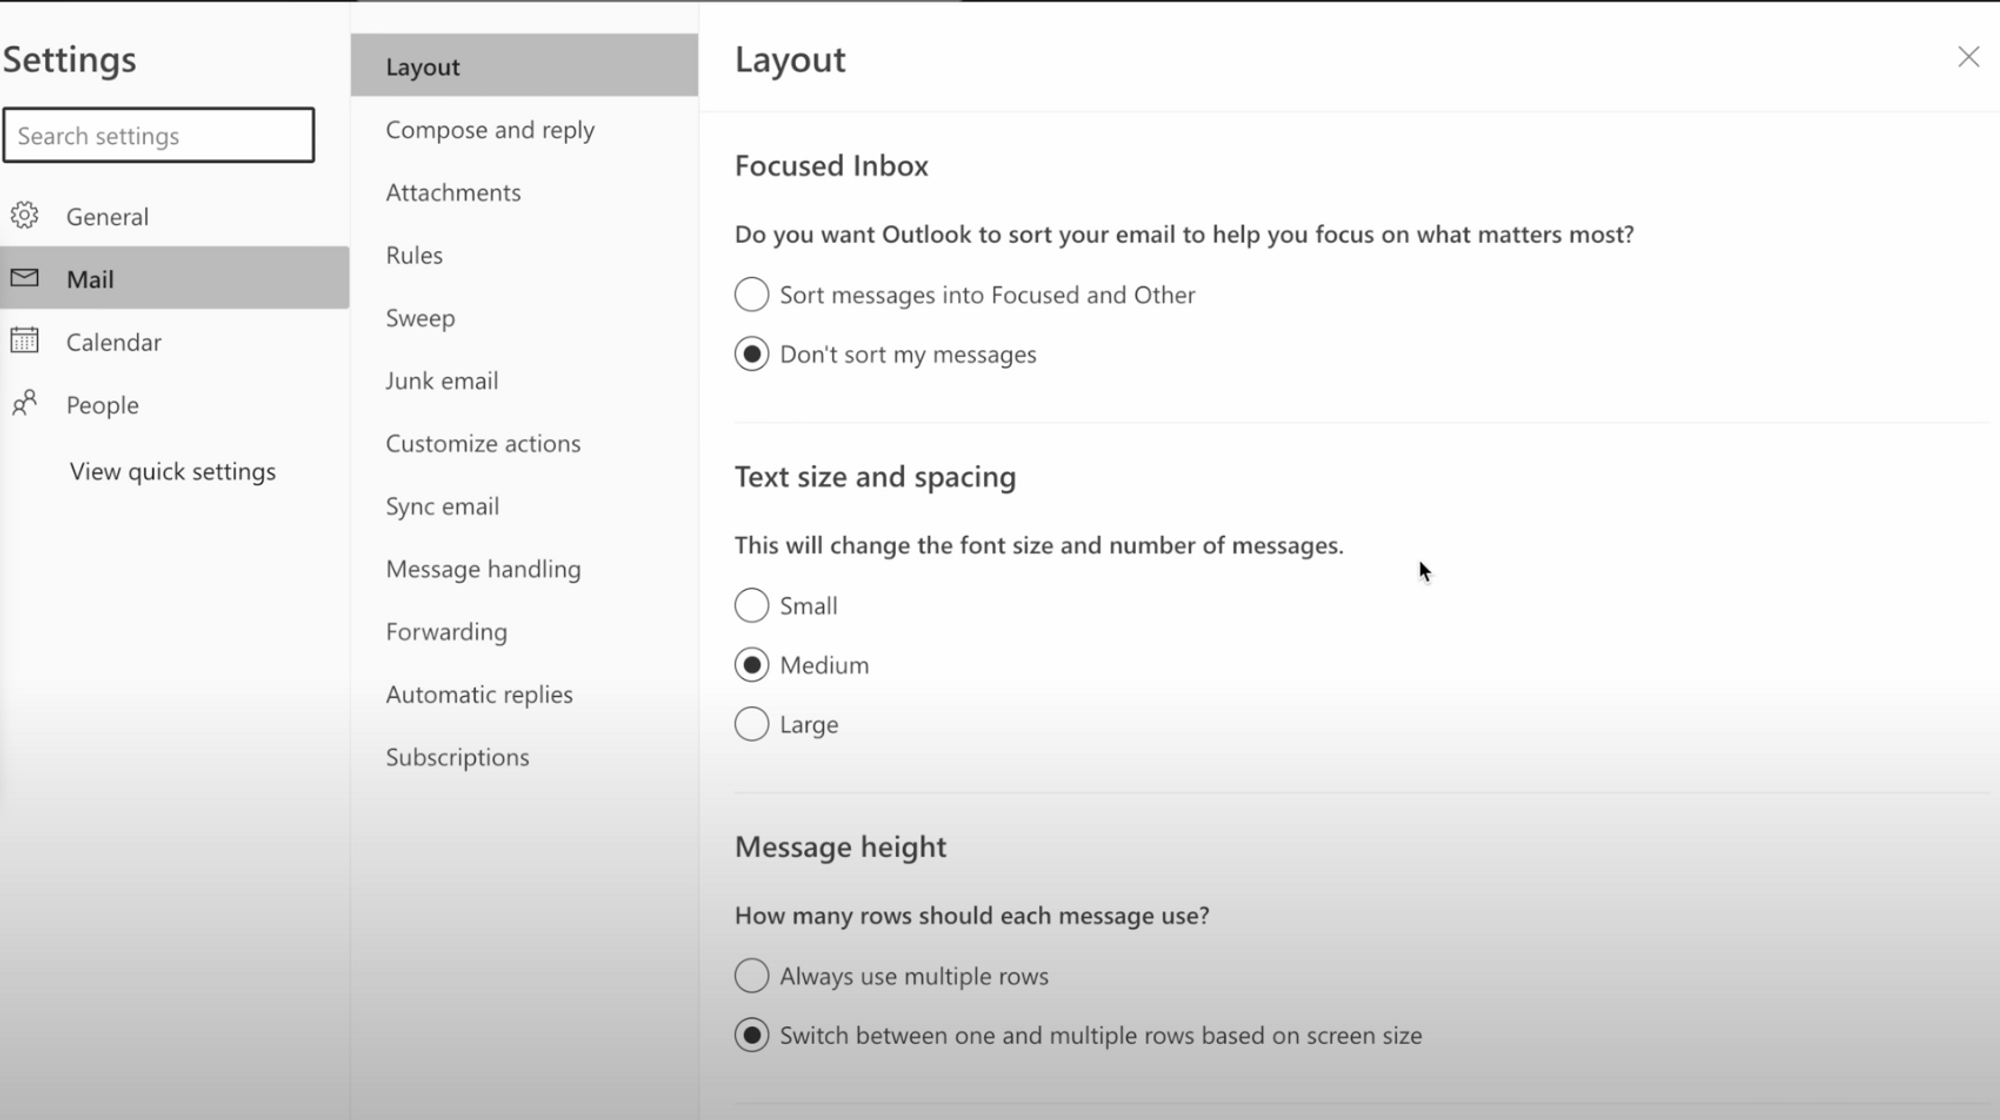
Next, click into "View all settings" and go to Mail > Layout. Scroll all the way down to "What do you want to happen when you move or delete an item" and select "Open the PREVIOUS item." This setting may sound strange, but trust me, it's worth it. Also, choose "Let me select which message to read first" and save the settings.
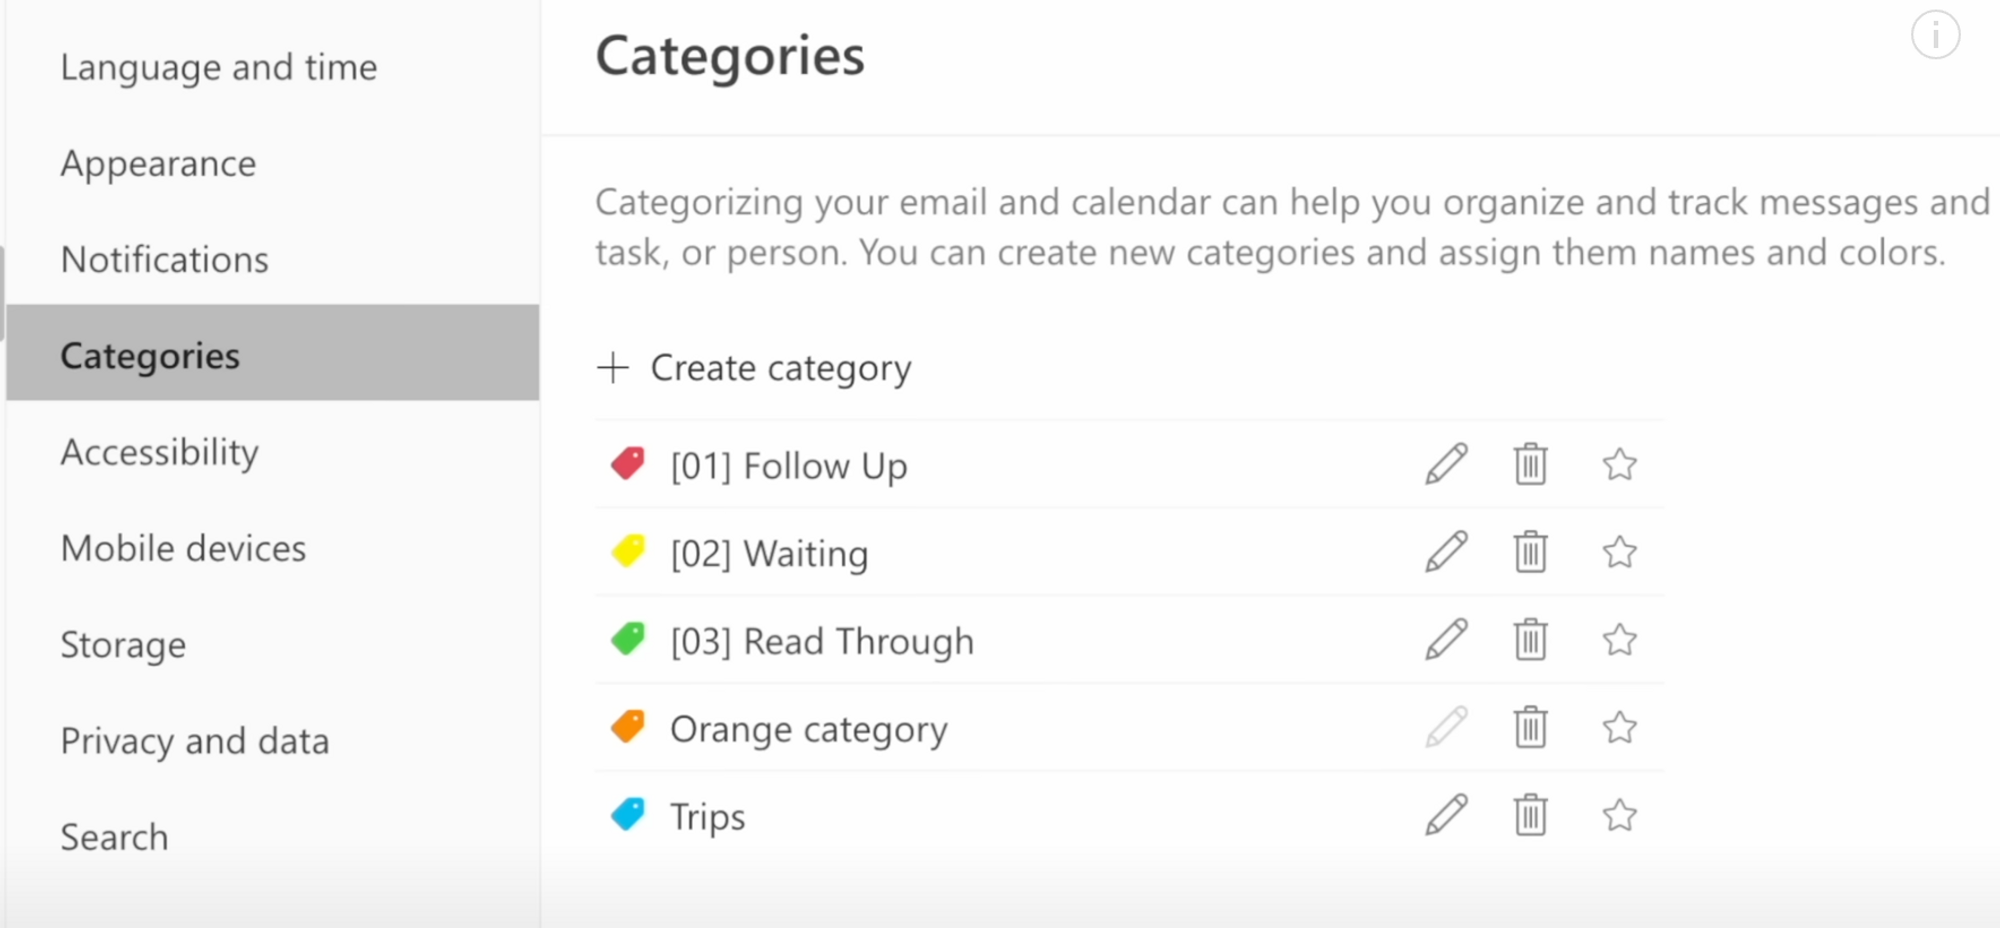
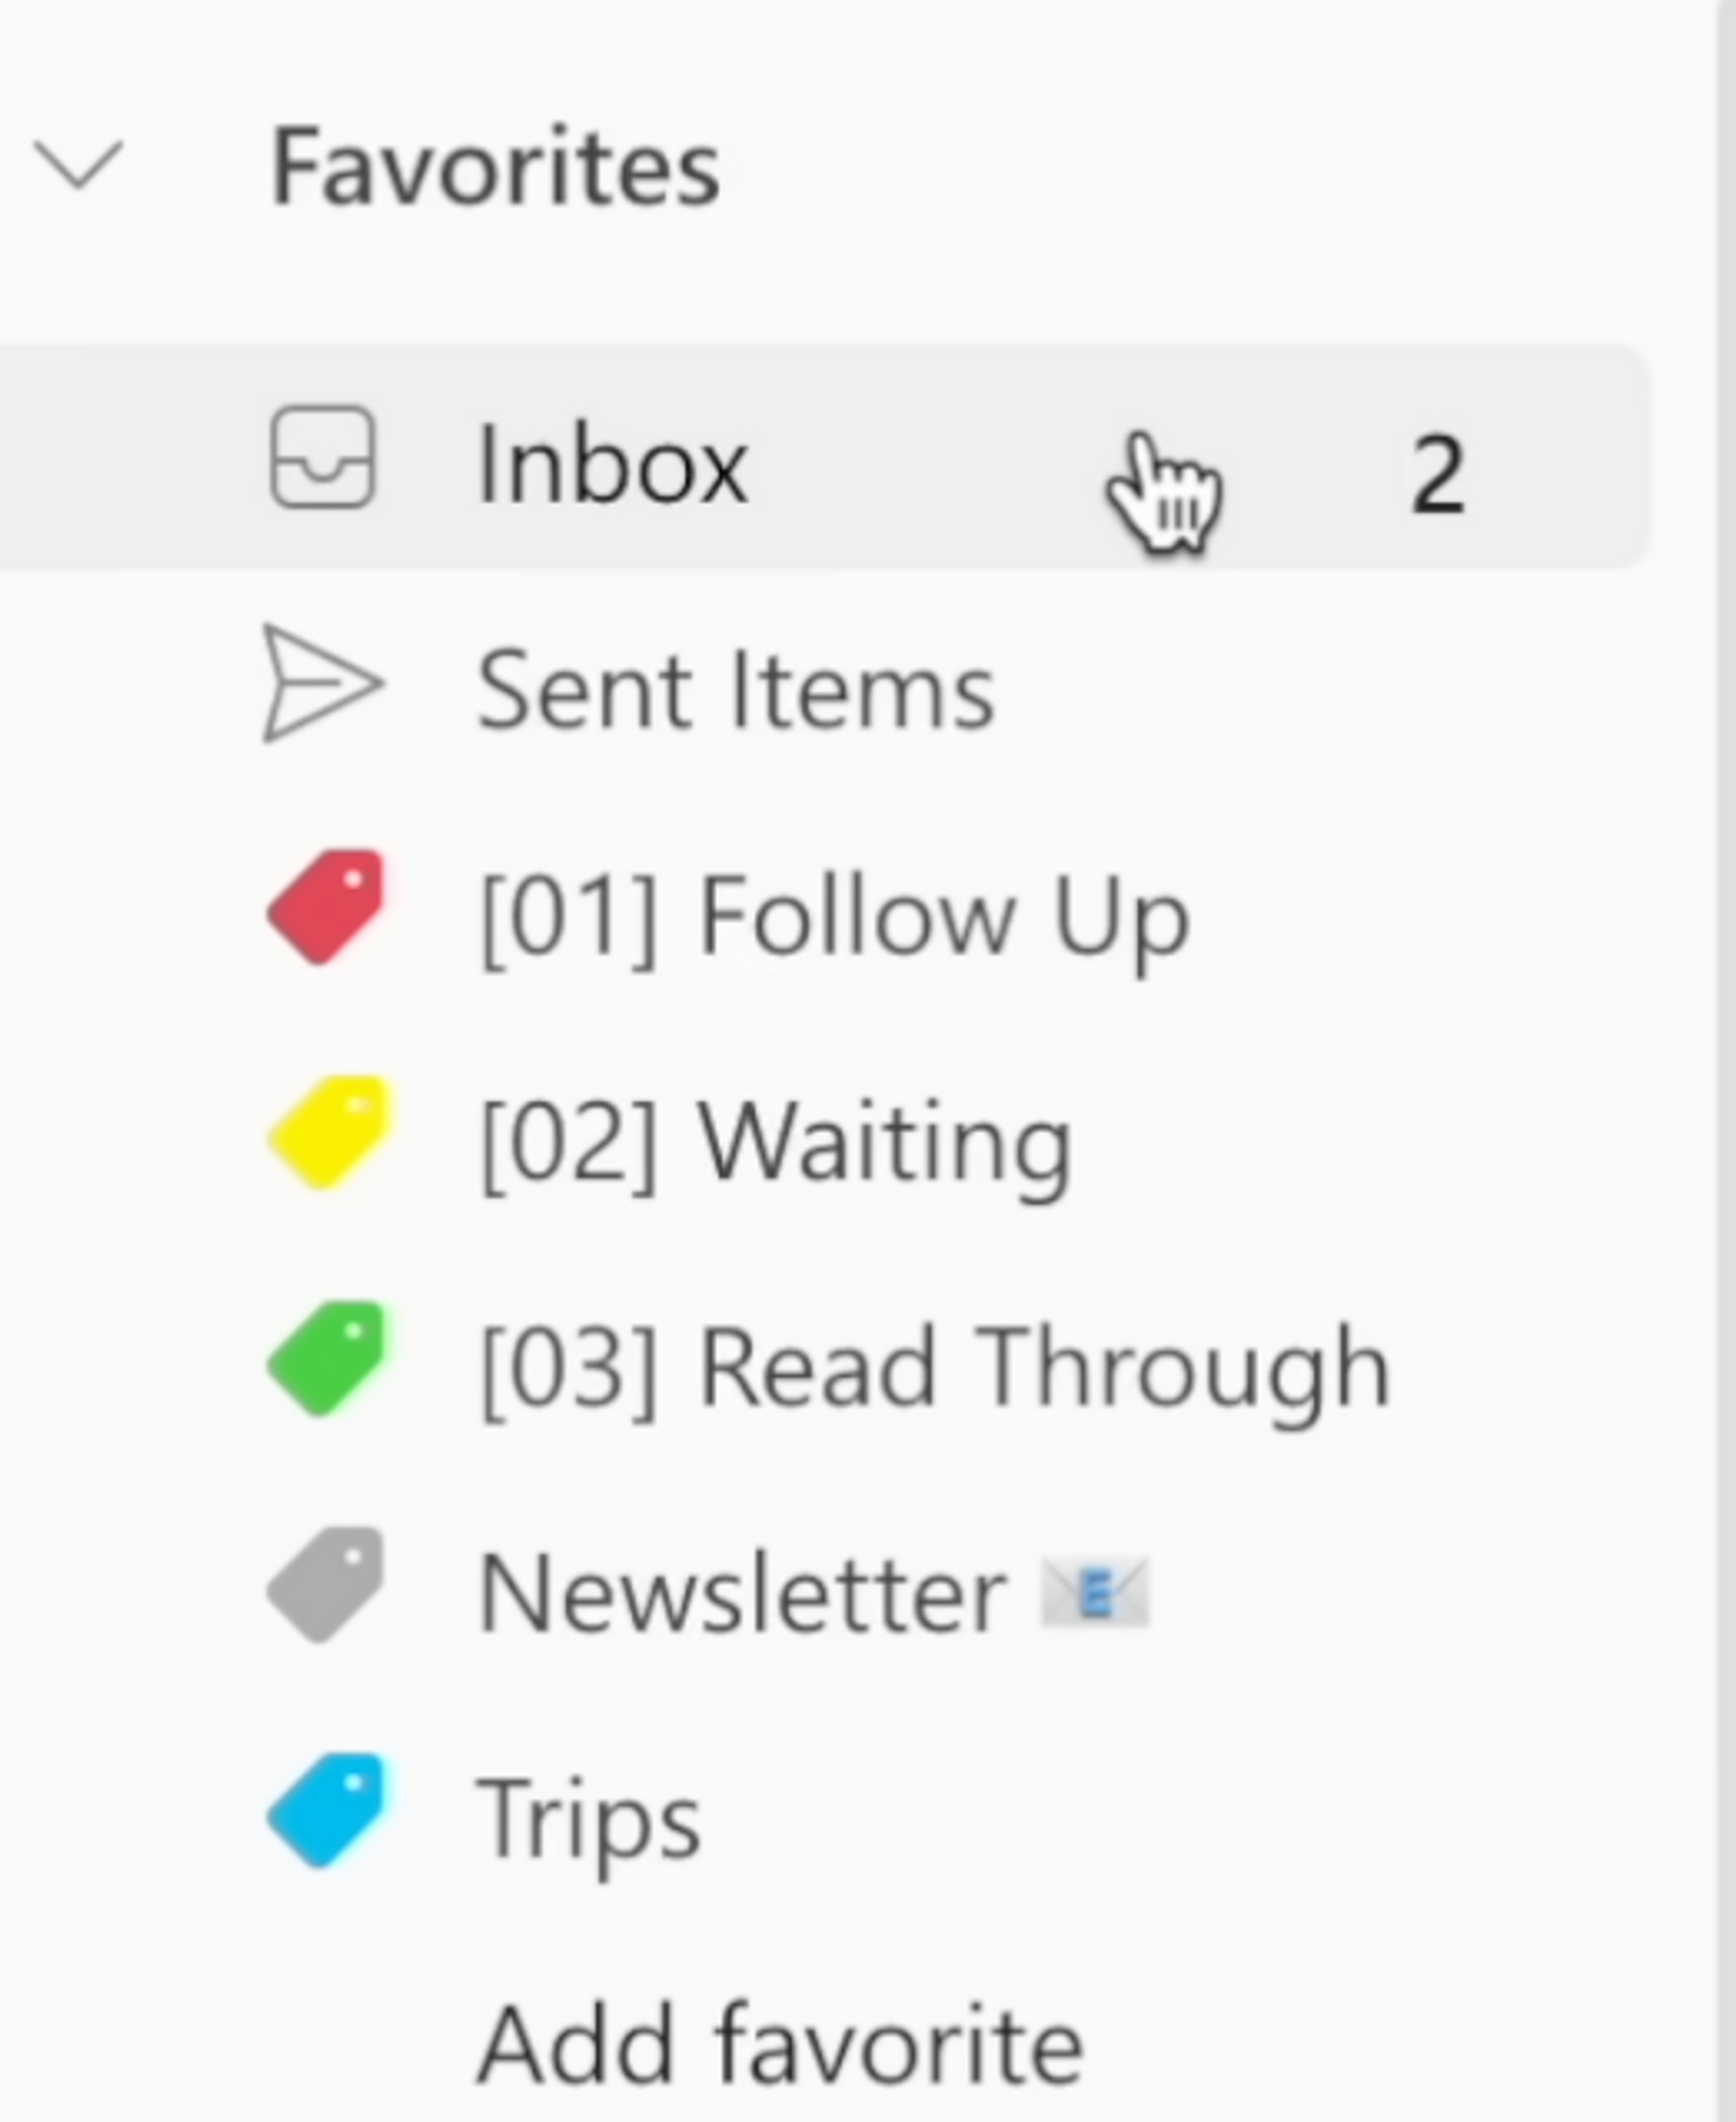
Then, head to the "General" tab > Categories, and create the following five categories: Follow up, Waiting, Read Through, Newsletters, and Trips. You can use brackets and numbers to have these three categories up top.
Favorite all five of these categories, and make sure the Outlook keyboard shortcut option is selected. Save settings.
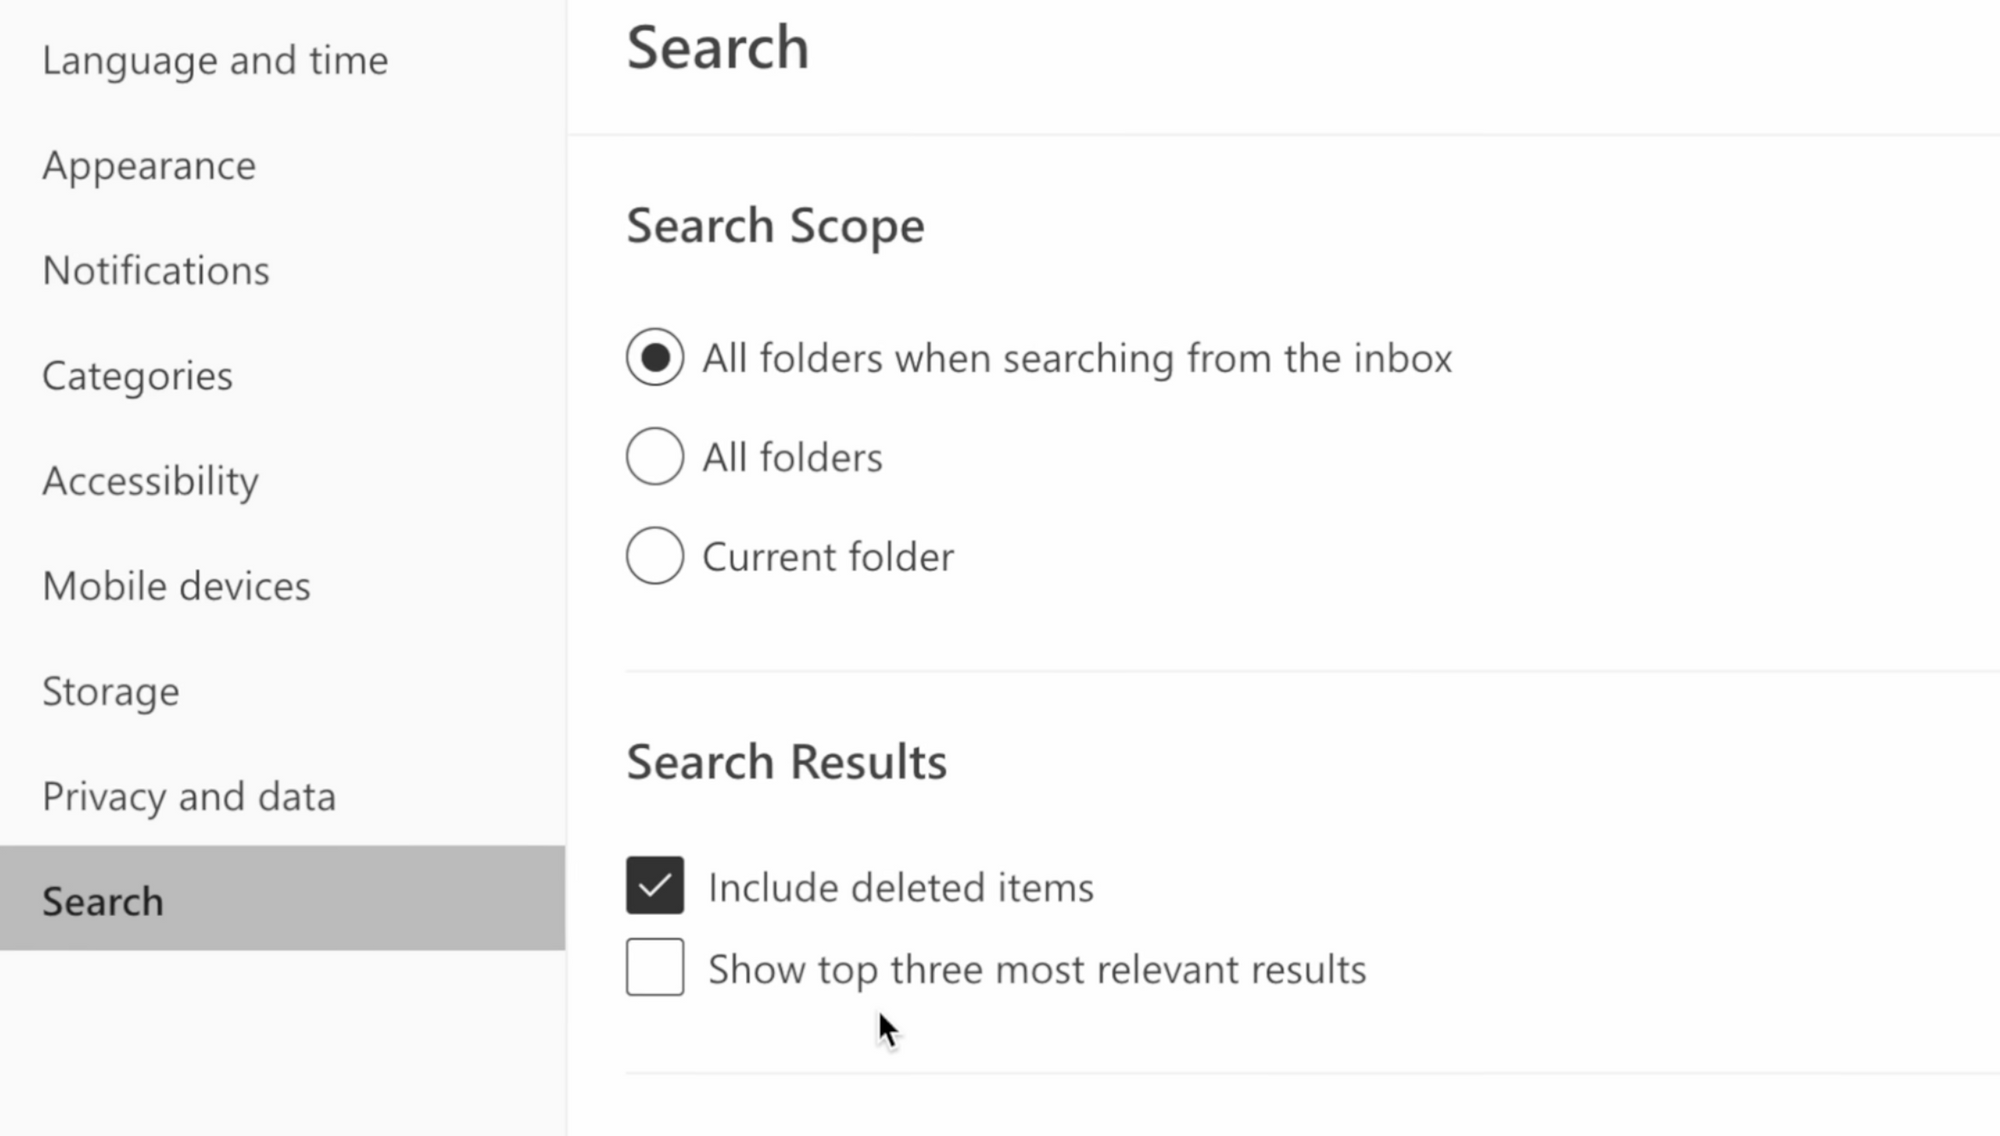
Under Search, choose "All folders when searching from the inbox," check "Include deleted items," and uncheck "Show top 3 most relevant results." Save settings.
After you make these changes and everything is saved, press ESC to go back to your main inbox. Click the inbox folder and favorite it by clicking the star. Do this for the Sent items folder as well.
You should now see Inbox, Sent Items and the 5 categories in the favorite section.
In Microsoft Outlook, there are two types of categories you need to know to make Inbox Zero work:
Newsletters and Trips are examples of pre-categories. To illustrate, find a newsletter email in your inbox and create a rule so that the next time you receive an email from that sender, the "Newsletter" category will be automatically applied when the email hits your inbox.

Moving onto action categories, the guiding principle here is that there are only four types of actions you'll take with emails:
Now that everything is set up, let's jump into a realistic workflow. To get started with Inbox Zero, let's take a look at a realistic workflow.
When you open up Outlook in the morning, you want to start from the bottom and work your way up. The first email, for example, is a company-wide announcement. If you don't need to take any action on this email, you can press "E" to archive it. Outlook will automatically jump to the next, more recent, unread email.
The next email might be a productivity newsletter that has been pre-categorized with the newsletter tag. After you read it and archive it (press “E”), you can still quickly access it when you click on the newsletter category. If you receive a hotel confirmation from Marriott, which has been pre-categorized with the trips tag, you can safely archive it knowing that you can still access it by clicking on the trips category.
If someone is asking for something that you don't have, but you're ultimately responsible for, you can forward the email to a colleague by pressing "F". You can then categorize it as "waiting" by pressing "C" and typing "waiting" > "enter", and archive it by pressing "E". This waiting tag will remind you to chase your colleague every day until they give you what you need.
If you receive an email that you don't need to take any action on, you can simply press "E" to archive it.
And if you need to do some work on an email, remember the 2-minute rule by David Allen. If action can be taken in 2 minutes or less, take care of it right away. But if it will take longer, you can categorize it as "follow up" by pressing "C" > "follow up" > "enter", archive it by pressing "E", and come back to it later.
If you receive an announcement on a new expense process, but don't currently need to expense anything, you can categorize it as "read through" so you can refer to it in the future and archive it. If you have to prepare a presentation that's due in a month for example, you can press "B" to snooze the email to a date 1 week before the due date so you can start working on it then.
Once you've categorized and archived all the emails from your main inbox, you can focus on taking action on follow-up emails, chasing people down for waiting emails, and going through the rest of the categories as needed.
Once the tag is no longer applicable, you can un-categorize the email by pressing "C", write the corresponding tag and press ENTER, it will disappear from the category.
It's important to note that archived doesn't mean deleted. You can always find archived emails in the archived folder or search for archived emails in the search bar.
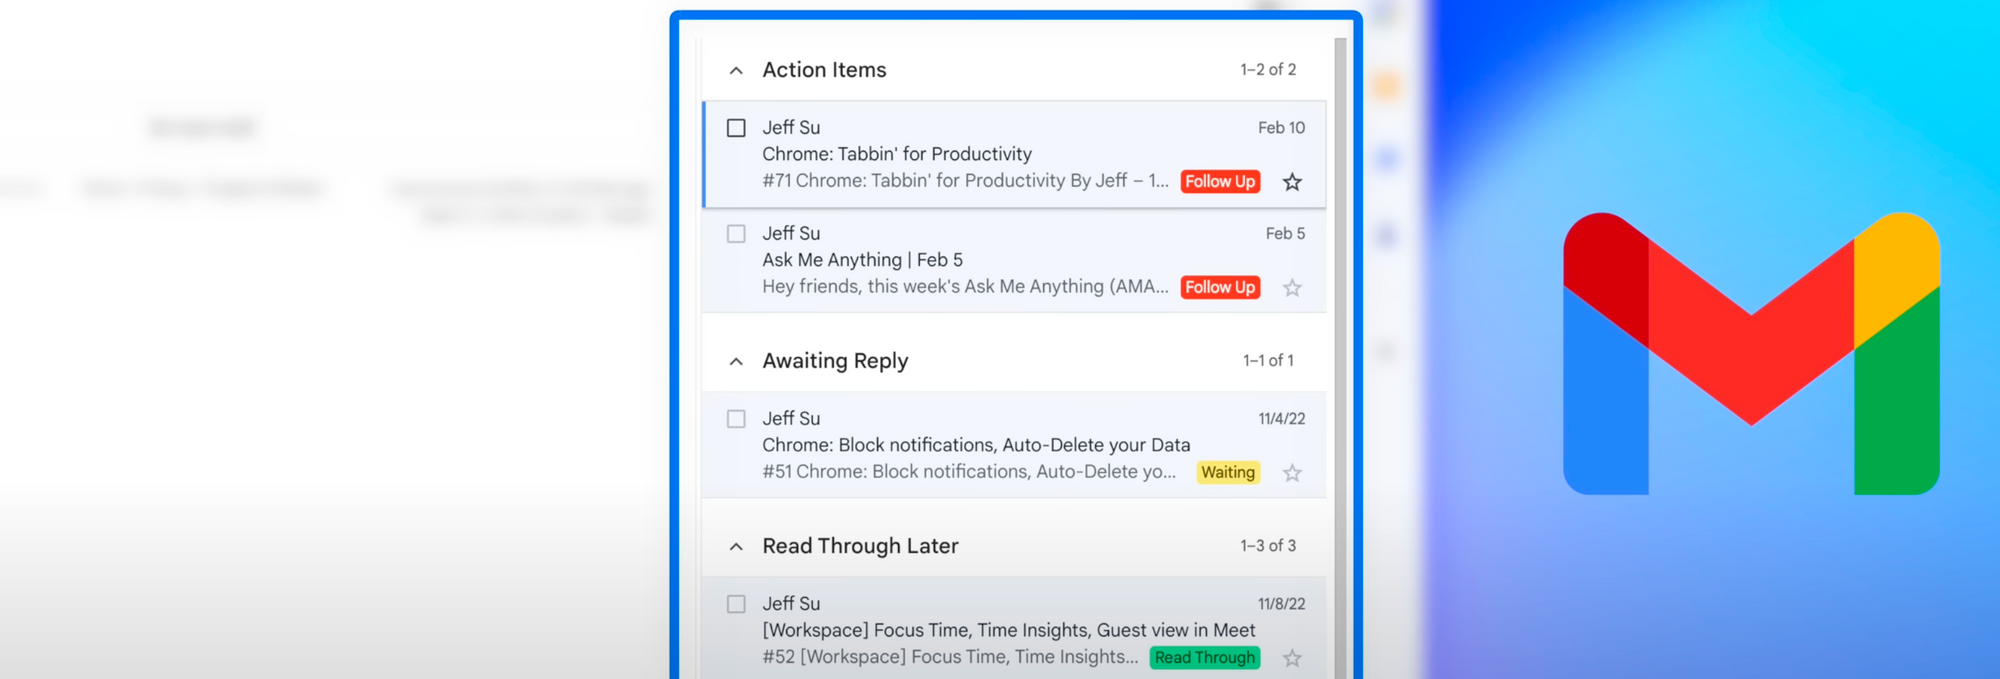
One of the biggest drawbacks of Inbox Zero for Outlook is the inability to archive emails in bulk. While Gmail users can select all and archive, Outlook users can only select all emails in their inbox page and archive by clicking move to archive folder. If you have a lot of emails, Outlook will not let you archive in bulk, which can be a real pain.
Secondly, there's no multiple inbox view available in Outlook. This means that you have to build a habit of clicking through categories instead of scanning through multiple inboxes like you would in Gmail. This can take time and disrupt your workflow.
Thirdly, there's no way to view categories in the main inbox without favoriting them. Microsoft's folders feature doesn't work well because emails cannot exist within both the main inbox and a folder at the same time. This defeats the purpose of pre-categorizing emails in the first place. If you want to use folders, you can create a folder for each pre-category you have, and whenever a pre-categorized email lands in your inbox, you can read it and then move the email to a folder. This adds an extra step to the workflow, but at least you'll have a super clean favorites tab and you can hide all your folders underneath here.
Lastly, when you write a new email in Gmail, you can add a label or category directly within the compose window. But in Outlook, if you're sending an email and you want to add a category, you have to send the email, go to the sent items folder, and then add the category. This can be time-consuming and disrupt your workflow.
...check out my Increase Your Productivity at Work playlist!